
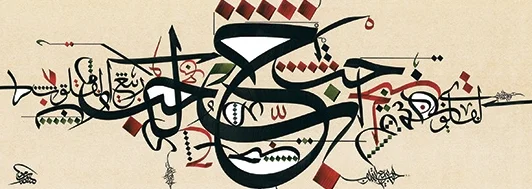
Basics of practicing Arabic calligraphy
A huge part of the process for me in learning calligraphy has been trial and error. I've tried multiple tools, papers, inks and I'm still continuing to learn new things. This blog post is about tips and tricks that I've learned over the years; hacks, and tools that only come by investing time and practice. All I can really show you is what I've done and what's worked best for me. And with that being said here are some tools that I recommend when starting Arabic calligrahy:
Beginner Calligraphy Supplies:
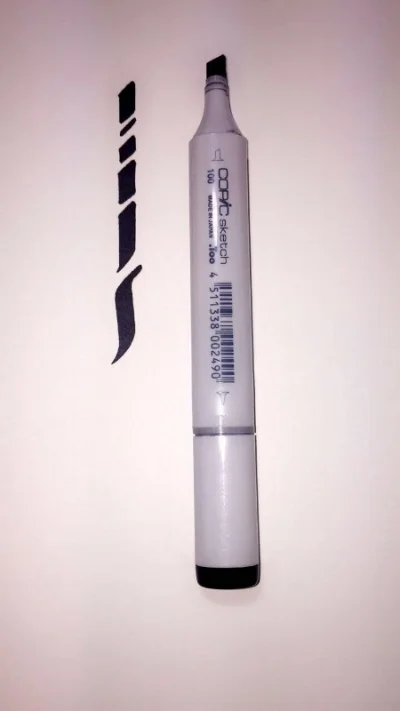
1. Pilot pen (HQ favorite)
1a. Prismacolor chisel tip marker
That's it!
When learning Arabic calligraphy, I do the following:
- Practice a few letters on regular 8.5 x 11 paper before I go to my nice calligraphy paper.
- Practice straight lines, by repeating "Alifs" over and over again (This allows your hand to develop muscle memory)
- Always make sure that I have good lighting
Before we practice some letters, here is the proper way of holding your pen, so the angle is always the same:

Alif
Note: The Alif is always a bit slanted to the right and can come in various styles
Baah


Ay'n
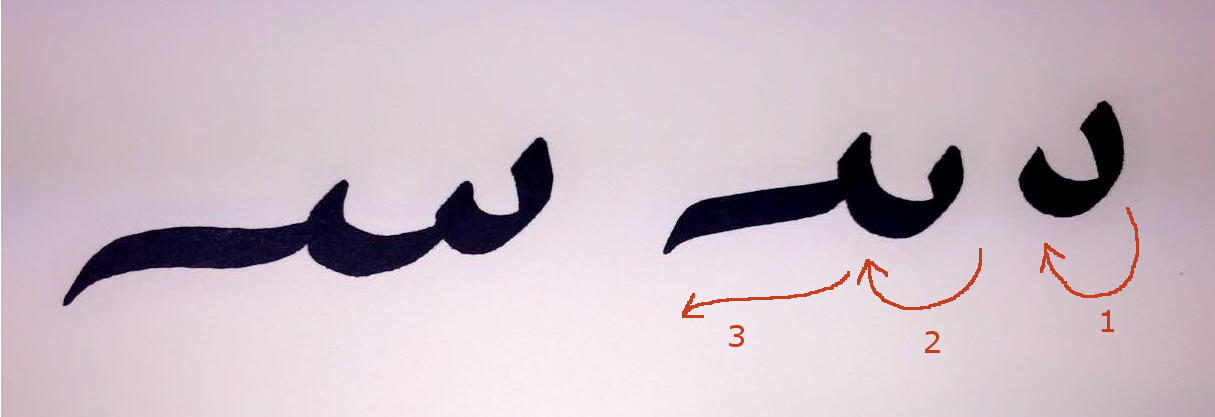
Seen
Note: The two parts that make up the seen. The second dip is usually longer than the first
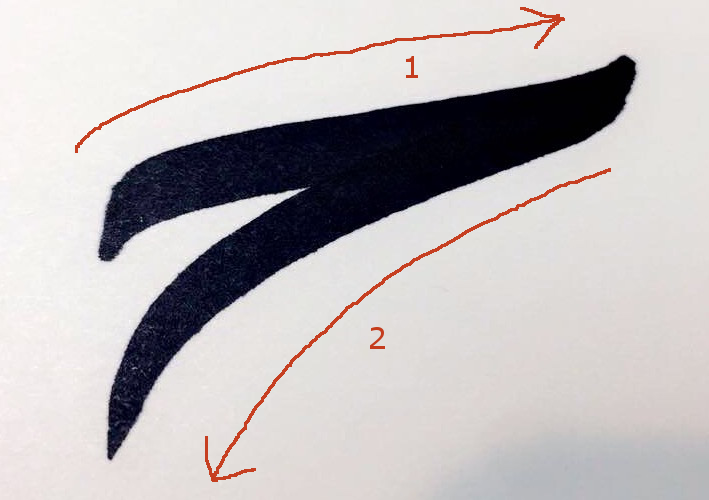
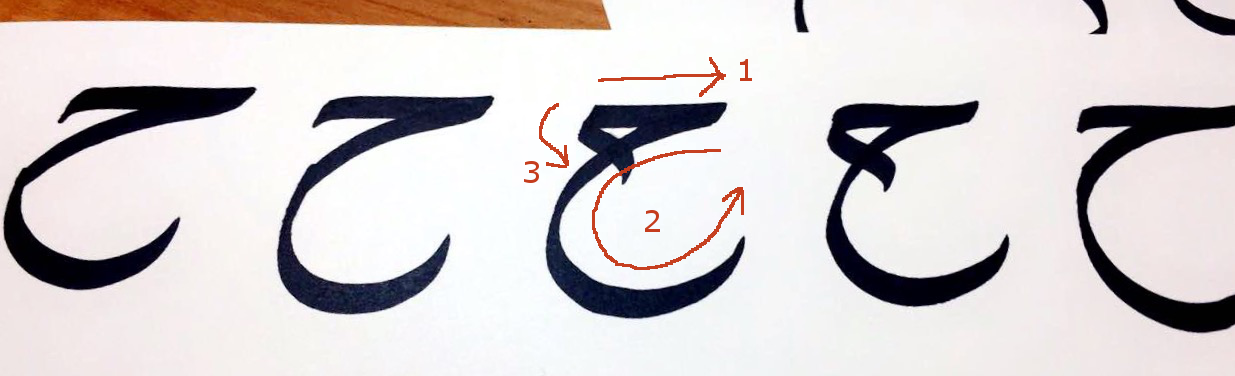
Haah
Note: Various forms of Haah. For best results, practice doing the loop in one motion
Thanks for checking out my first blog article. Subscribe for more tips and tricks. Questions? Shoot me a message and lets chat